Building a Super Clean Workstation
Tech+Gaming / / Jul 23, 2016
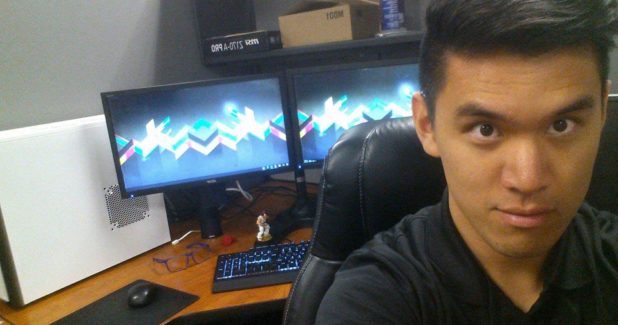
I’ve been at my IT job for almost a whole year now! When I first started, I was assigned a desk and workstation like everyone else. My current PC (let’s call him Old Faithful) has seen better days. Originally coming out of the box with a Core 2 Duo Intel processor and, -ahem- Windows Vista, my system has since been upgraded in a piecemeal, Frankenstein sort of way.
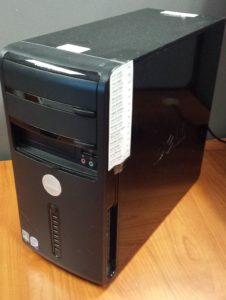
At one point, it got upgraded to 8GB of DDR2 RAM and Windows 8.1. The system also has a fairly new Western Digital Black 1TB hard drive which I don’t put to good use, since I don’t store anything on my work computer.
Regardless of his imperfections, Old Faithful has booted up successfully every single day I’ve been in the office. Oh, the adventures we’ve had! Together, we’ve logged in remotely to hundreds of other computers, saving the day when some disgruntled employee’s email won’t load in their Outlook, troubleshooting complex networking issues affecting entire domains, and unblocking Facebook for CEOs all throughout Orange County!
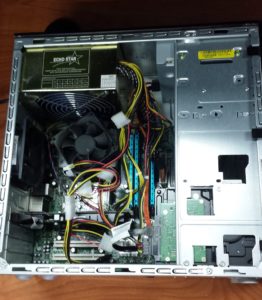
Since he’s been around the company for many more years than me, this old timer of a PC has done more than his fair share on the front line of IT duty. Nonetheless, the only constant in life is change and the time has finally come to move on.
Last week, the owner of our company offered me the chance to build my own brand new workstation! He instructed me to put together a list of parts I wanted, and the company would order them for me. I was giddy, although I tried not to show it. I felt like a kid in a candy shop! I submitted my list and the parts arrived the very next day (shoutouts to Newegg being located in Southern California!)
Even though I probably could have gotten away with it, I consciously decided not to waste my employer’s money on a gaudy, overkill beast of a rig. I put together my list with the idea that the theme of this build would be powerful (but not too powerful), professional, efficient, and clean.
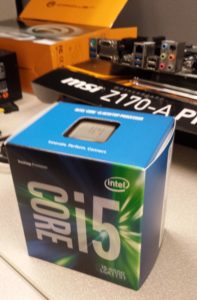
I started with the latest generation of Skylake Intel i5 processors, and opted for the locked 3.2GHz 6500 model. This CPU is quad core with no hyper threading and is not meant to be overclocked (although it can hit “turbo” frequencies of 3.6GHz under load). Since I’m not running games or editing video, I won’t be maxing out this CPU’s capabilities on my regular workload. Even though it’s relatively affordable (at about $200.00 USD), this i5 still packs a punch.
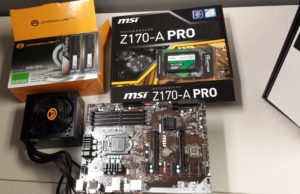
The most exciting part of the Skylake generation of CPUs to me is the fact that they’re compatible with DDR4 memory! DDR4 is the latest and greatest of system RAM, and became widely available on the market about 2 years ago. It’s only recently, however, that it’s seen wide adoption in new machines. Of course, the motherboard has to match for this to work.
For the mobo, I opted for the MSI Z170-A Pro. It’s simple and sleek, sporting DisplayPort, DVI and VGA video outputs. At $115 bucks, it’s also pretty easy on my bosses’ wallet! LOL I mean, a part of me really wanted to spend the extra $80-90 for multicolored LED lights and dragon shaped heat sinks like the ones on my gaming rig at home, but I practiced some responsible restraint and kept the motherboard toned down.
The power supply is a 680 watt non modular unit by A-Power. It’s more juice than this system needs and wouldn’t have been my first choice, but the benefit of working for an IT company is that we have like a dozen of these bad boys just sitting in the closet! My boss just picked one up and plopped it on my desk.
For storage, I choose a 500GB Mushkin Enhanced Triactor Solid State Drive. 500GB is more than I need, which is good news because it means literally everything I run will be stored on blazing fast solid state flash memory. I mean, a traditional platter hard drive would have been cheaper I guess… but, c’mon. Moving parts in your storage device was cool like, 10 years ago. It’s 2016, and I’m glad to say that we now live in a more civilized society.
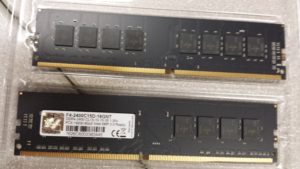
When shopping for RAM, I actively avoided anything with gamer-y or outlandish heat sinks. I was stoked to come upon this 16GB kit of MURDERED OUT matte black perfection known as the NT Series by G. Skill, coming out the box with a 2400MHz clock speed. SO SICK.
Aesthetically, the most important piece of any build is the case. Here, I had to navigate a very narrow line between awesomely stylish and unprofessional. After a bit of poking around, I settled on the striking yet conservative look of the NZXT Source 210 Elite White mid tower ATX case.
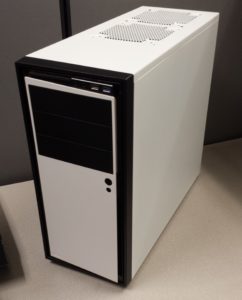
This case had everything I was looking for, and was surprisingly affordable on sale for a meager $40.00!
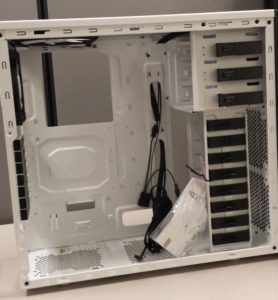
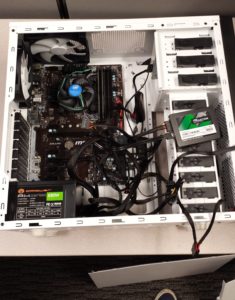
During my test boot, a choking sense of fear gripped me. Everything was plugged in, I pressed the power button, and nothing turned on! What have I done? Where had I gone wrong!?!? Why have I been forsaken!?!?!
After an embarrassingly long period of time, I realized that I had mistakenly plugged in the 6+2 power supply connector into the 8 pin CPU socket instead of the 4+4 connector. I wiped the sweaty shame off my brow and continued onward.
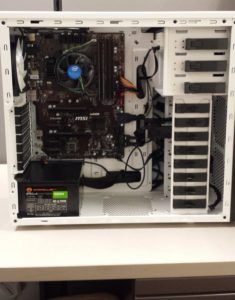
During cable management, I accidentally scraped my hand on one of the exposed power connectors on the motherboard and cut myself. (Insert some poetic metaphor about pain/battle scars etc.)

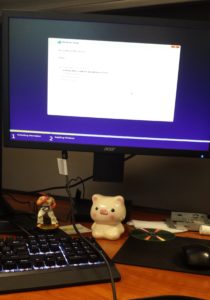
After all the hardware was pieced together, it was now time to install the operating system. The boss graciously provided the licenses for Windows 10 Pro and Office 2016.
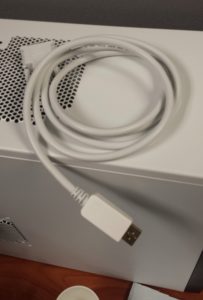
Because I’m a real nerd, I also got a matching white DisplayPort to DVI monitor cable, just for fun.
After several hours of work, I finally stood before the finished product!
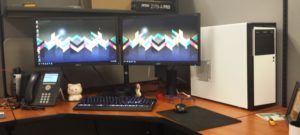
And there you have it! The final price tag for all of the components (not including monitors) was about $650.00. I’m confident that this rig will serve us well for years to come, and if for some reason I ever pass it on to someone else, they won’t have to feel like they’re working on a kid’s gaming PC! LOL
I hope you’ve enjoyed my build log, please feel free to comment with your thoughts and opinions!


Comments 0